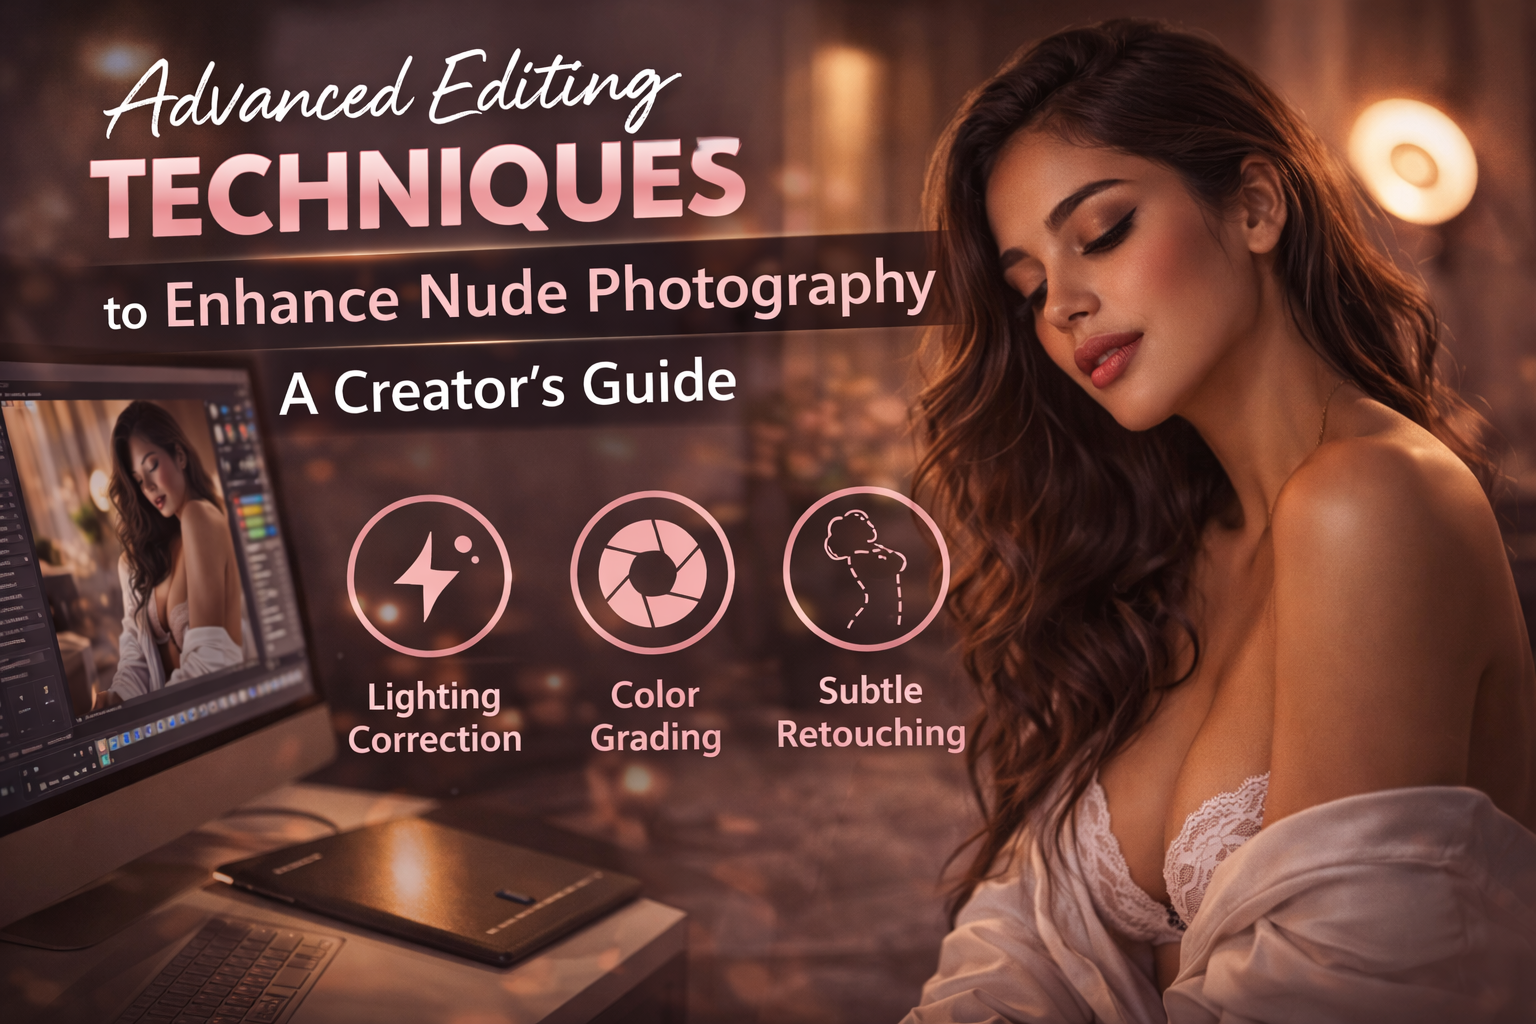
Advanced Editing Techniques to Enhance Nude Photography: A Creator's Guide
Editing nude photography requires a different approach to most other photography styles. When the subject is the human body, small changes in colour, tone and texture become very noticeable. Skin is one of the most difficult surfaces to edit well, and heavy processing can quickly make an image feel unnatural.
The most effective editing enhances the image without drawing attention to the edit itself. By refining skin tones, improving lighting balance and applying subtle colour grading, creators can produce polished images while still maintaining a natural look.
This guide covers some of the most effective editing techniques used by experienced adult content photographers, from choosing the right tools to final export settings.
Choosing the Right Editing Software
Professional editing software makes a significant difference when working with nude photography.
Adobe Lightroom is the most widely used option thanks to its efficient workflow and non-destructive editing. This means edits never permanently change the original image, allowing creators to revisit files and refine their work later.
Capture One is another popular choice among professional photographers, particularly for its strong colour rendering and excellent skin tone control. While it has a steeper learning curve, it can produce extremely refined results.
For creators who prefer a free option, Darktable offers powerful RAW editing tools similar to Lightroom. Mobile creators often rely on Lightroom Mobile, Snapseed or VSCO, which allow quick adjustments and preset workflows directly on a phone.
Why Shooting RAW Makes Editing Easier
If your camera or smartphone supports RAW capture, it can significantly improve editing flexibility.
RAW files retain the full image data captured by the camera sensor. This makes it easier to recover details in bright highlights or dark shadows and correct colour balance accurately. Since skin tones are sensitive to lighting and exposure changes, this additional data can make a noticeable difference.
JPEG images, on the other hand, are processed and compressed by the camera before you edit them. This limits how far you can adjust exposure, colour and highlights without degrading the image.
For high-quality hero images or promotional content, shooting in RAW generally produces better results.
Mastering Skin Tone Correction
Accurate skin tone rendering is the most important part of editing nude photography. Even slight colour shifts can make skin appear dull, overly red or unnatural.
In Lightroom, the HSL panel is one of the most useful tools for this. The Orange channel controls much of the information for lighter skin tones, while Red and Yellow channels influence darker or warmer tones.
Adjusting the Hue slider can subtly shift skin colour, while the Luminance slider changes brightness without affecting the rest of the image. These small adjustments can help create healthy, balanced skin tones.
White balance also plays a major role. If lighting causes a cool blue tint, slightly warming the temperature setting and adjusting tint toward magenta can restore natural skin colour.
Professional Skin Retouching Techniques
One advanced retouching technique used by professional editors is frequency separation. This method separates an image into two layers: one containing colour and tone, and the other containing texture.
By editing the tone layer independently, creators can smooth uneven colour or small blemishes while preserving natural skin texture. This prevents the overly airbrushed appearance that comes from heavy smoothing filters.
When used carefully, frequency separation produces clean, polished skin while keeping the natural detail that makes photographs look realistic.
Using Colour Grading to Create Mood
Colour grading helps define the overall atmosphere of an image. Many successful creators develop a consistent editing style that becomes part of their visual identity.
Lightroom’s Colour Grading panel allows editors to adjust highlights, midtones and shadows independently. A common approach is to add warmth to highlights while keeping shadows slightly cooler, creating a flattering and cinematic look.
Presets can also provide a helpful starting point, but they work best when adjusted to match the specific lighting conditions and camera settings used in the shoot.
The Tone Curve is another powerful tool for shaping contrast. A subtle S-curve can increase depth and dimension while maintaining smooth tonal transitions.
Exporting Images for Different Platforms
Export settings can affect how your final images appear online.
For downloadable content or premium files, exporting at full resolution with JPEG quality around 90–95% preserves the most detail. For images uploaded to platforms that apply their own compression, slightly lower settings are often sufficient.
Testing your export settings across different platforms helps ensure your images maintain quality after compression.
For creators producing premium adult content, platforms like MoreThanFanz allow photographers to share their work directly with an engaged audience. Completing a Creator sign-up only takes a few minutes and allows creators to build a dedicated following.
Likewise, fans looking to support their favourite creators can complete a quick fan sign up to access exclusive content and connect directly with creators producing high-quality adult photography.